
// products
Adding Products
1. Login to your franchise's WhiteLabelPOS website.
https://YOURFRANCHISE.whitelabelpos.com/
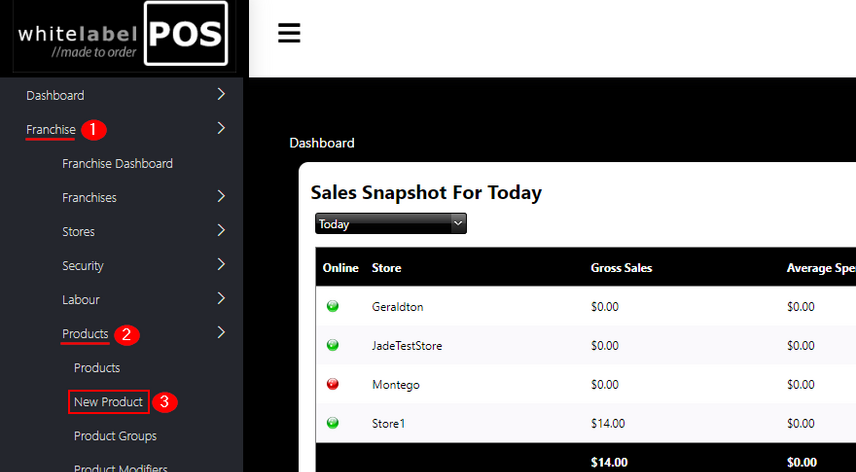
2. On the left side of the page, select:
Franchise > Products > New Product
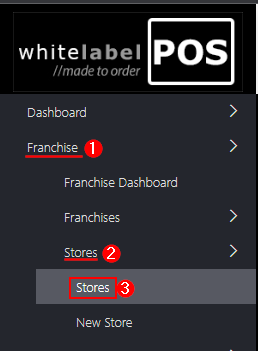
1. On the left side of the page, select:
Franchise > Stores > Stores
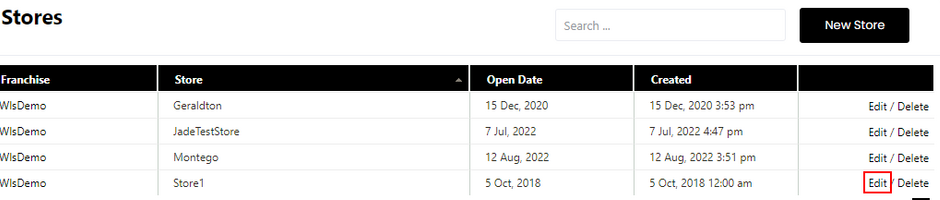
2. Select the store you would like to make the product active in.
If you would like to make the product active and the price the same for all stores, it does not matter which store you edit now as you have the ability to save the price for multiple stores in a later step.
3. After selecting
Edit, navigate to the
Products tab.
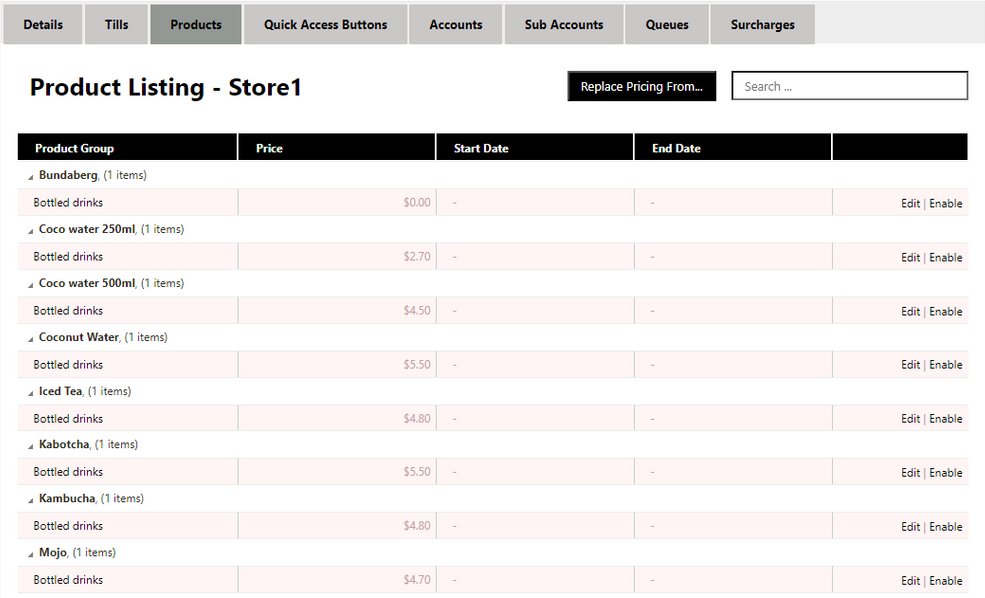
4. You will now be able to see all the products and their prices for that store.
If the product is shaded pink, it means the product is disabled. You can enable it again by selecting
Enable on the right of the product.
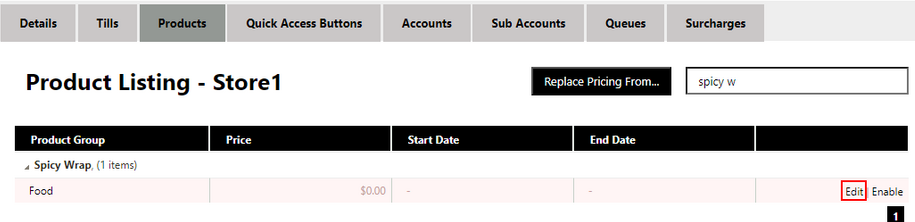
5. Search for the product you created earlier, then select Edit.
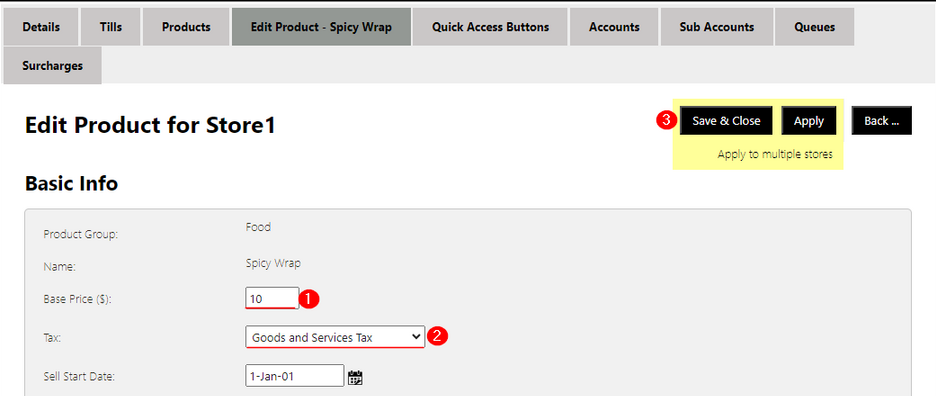
6. Set the price of the product, and then set the tax rate as appropriate.
Optional:
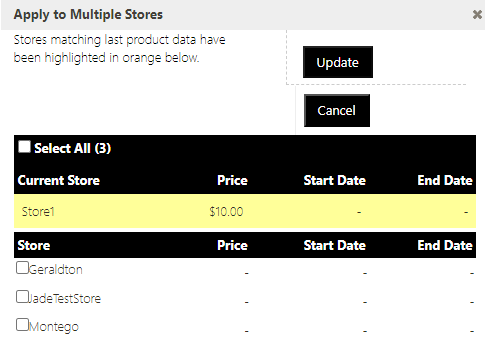
You can apply this pricing to other stores in the same Franchise by selecting
Apply to multiple stores.
From this menu you can select individual stores or select
Select All.
7. Select
Update - this will apply the price to all selected stores.
8. Select Save & Close
Now that the product has been configured and the price set in the WhiteLabelPOS website, we just need to restart the POS Software on the terminal.
Restarting the POS will sync all the latest changes to the terminal.
Completely exit the software to the desktop, then relaunch.
Process below:
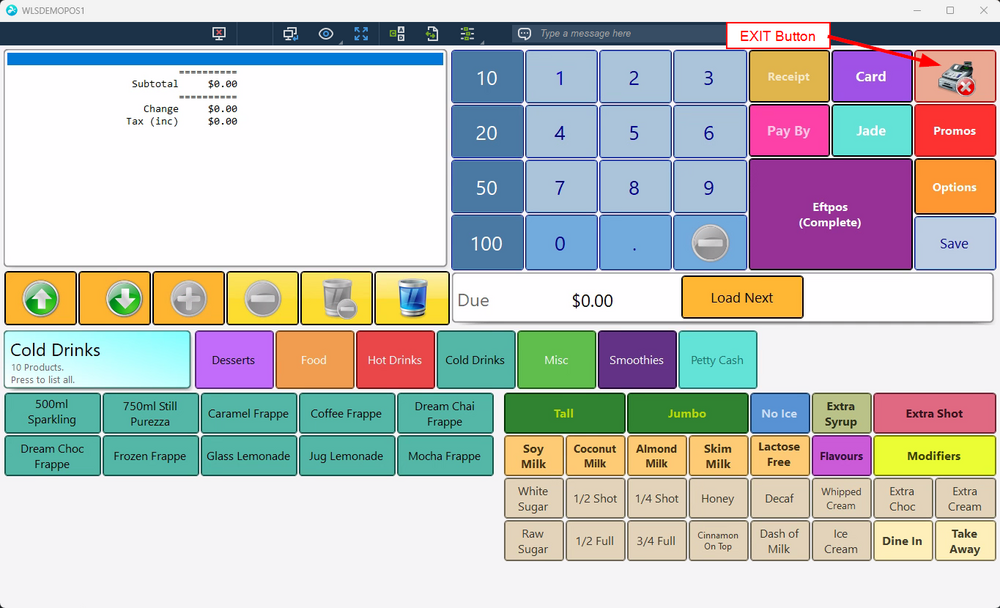
Exit the POS Software
1. Exit to the main menu
Launch POS Software
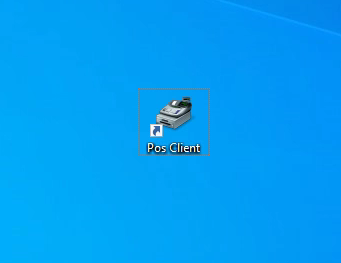
Now relaunch the POS software:
1. Double click the POS icon on the desktop or task bar.
2. Go back into Point of Sale and then choose Clerk/User.
You should now be able to see the newly created product.
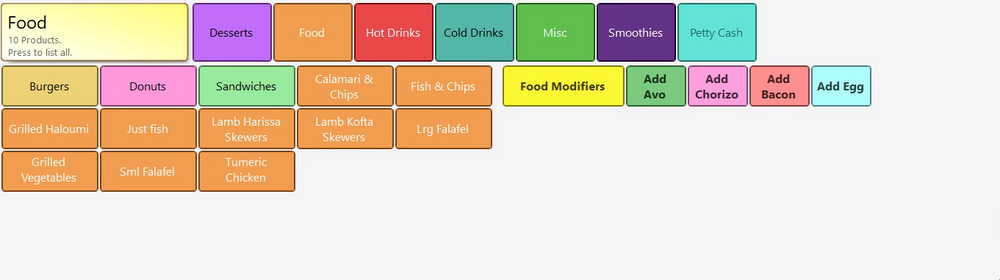
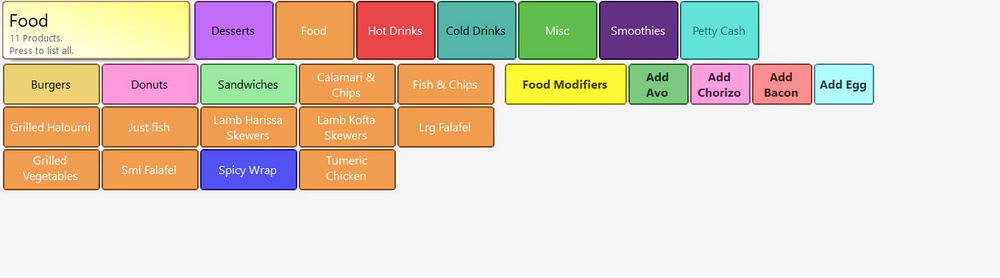
Screenshot of food group BEFORE adding product:
Screenshot of food group AFTER adding product:
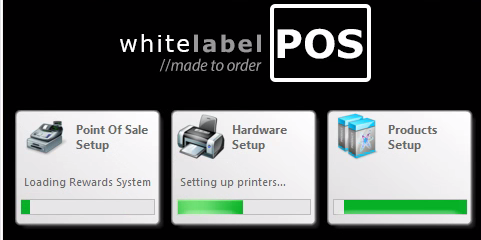
2. Exit to the desktop
You will see POS start to load up:
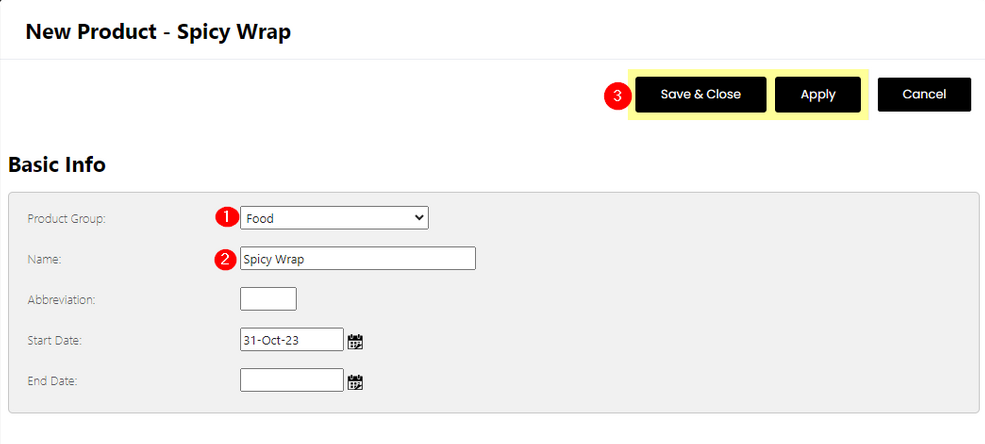
3. In the New Product menu, choose the product group to add the product to.
4. Give the new product a name, and if needed, an abbreviation.
5. Select
Save & Close
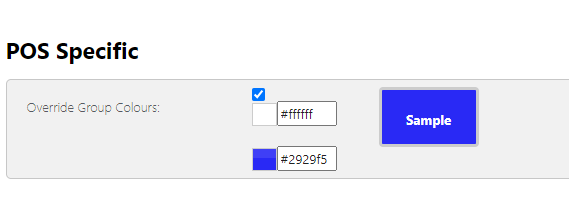
Optional:
You can override the product group colours of the new product by ticking the box.
By default, all products will be the same colour as the product group it is allocated to.
You can, however, change this to make the new product stand out from the others if needed.
Once you have selected
Save & Close, the new product is INACTIVE on the Franchise level.
You will now need to set the pricing, and make the product ACTIVE in POS.
Add a product at the FRANCHISE level
Setting the price at the STORE level
Force POS to show the new product


Can't find what you're looking for?
Fill out the form below and let us know what you need. We will get back to you asap.
Help Needed
We will get back to you as soon as possible.
Please try again later.